


sdfgdrew(F)")
Lighting is the most crucial aspect of making professional YouTube videos. However,you don’t need a Hollywood budget to get the perfect light; instead, you need to be smart.It is necessary to know why lighting is essential for a video, determine the best type of lighting for your YouTube video,and set up a proper lighting rig.
So, Here is a complete guide on all the lighting tips and the best affordable lighting for YouTube videos:
Why is Lighting Important?
- Quality of the Video:You must note that the quality of the YouTube video you record depends on the lighting of the camera, and it has a significant impact on the viewer. The camera price does not matter; if the lighting is not right, the video recorded will not be well lit. This is because cameras create an image based on the light that passes through them, and despite all the technological advancements, cameras need much more light than we do. Camera lenses cannot fully replicate the human eye and pick the same finite detail and contrast. Even if the scene looks well lit for you, it may not be well lit be for the camera, so more light will be required to make your video look professional.
- Saves time on editing: If the lighting is right, the YouTube video you record will be of good quality, and you will not have to spend too much time on color correction.
- Sets right Mood:A good quality YouTube video evokes the right emotions in your audience and projects the right mood. Hence, proper lighting can help you.
Basics of Good Lighting
It is pretty simple to create the best possible cheap lighting setup.There are three components for a good lighting setup:
Key light:This is the primary light that lights up your video’s subject(that’s you if you are a vlogger)
Backlights: This light sits behind your subject and lights up the shoulder and head; it adds depth to the scene.
Fill lights: This is an extra light that sits on both sides of the subject and plays a vital role in mirroring the key light and filling in the shadow that your crucial light casts.
To sum up, you will need three separate lights for the best lighting setup. The most important is the key light, so we will focus on getting that right first. You can check Video Lighting tips to get the best settings of lighting for your videos.
Different types of Cheap Lighting for YouTube Videos
After getting familiar with the basics, now let’s talk about different lighting sources you can choose from. The best five options are:
Natural Light
Natural light is the light from the sun. The advantage of natural light is that it is available everywhere and without any cost. However, the disadvantage is that you don’t have a lot of control over the sunlight. The lighting angle cannot be controlled, and the sunlight is not enough to give the best sharpness and clarity of the subject.
But there is a solution for this; disc light reflectors can be used to help us give little more control over natural light. They are cheaper than light sources; hence, it is a good option for YouTube video lighting if you are on a tight budget.
Softboxes
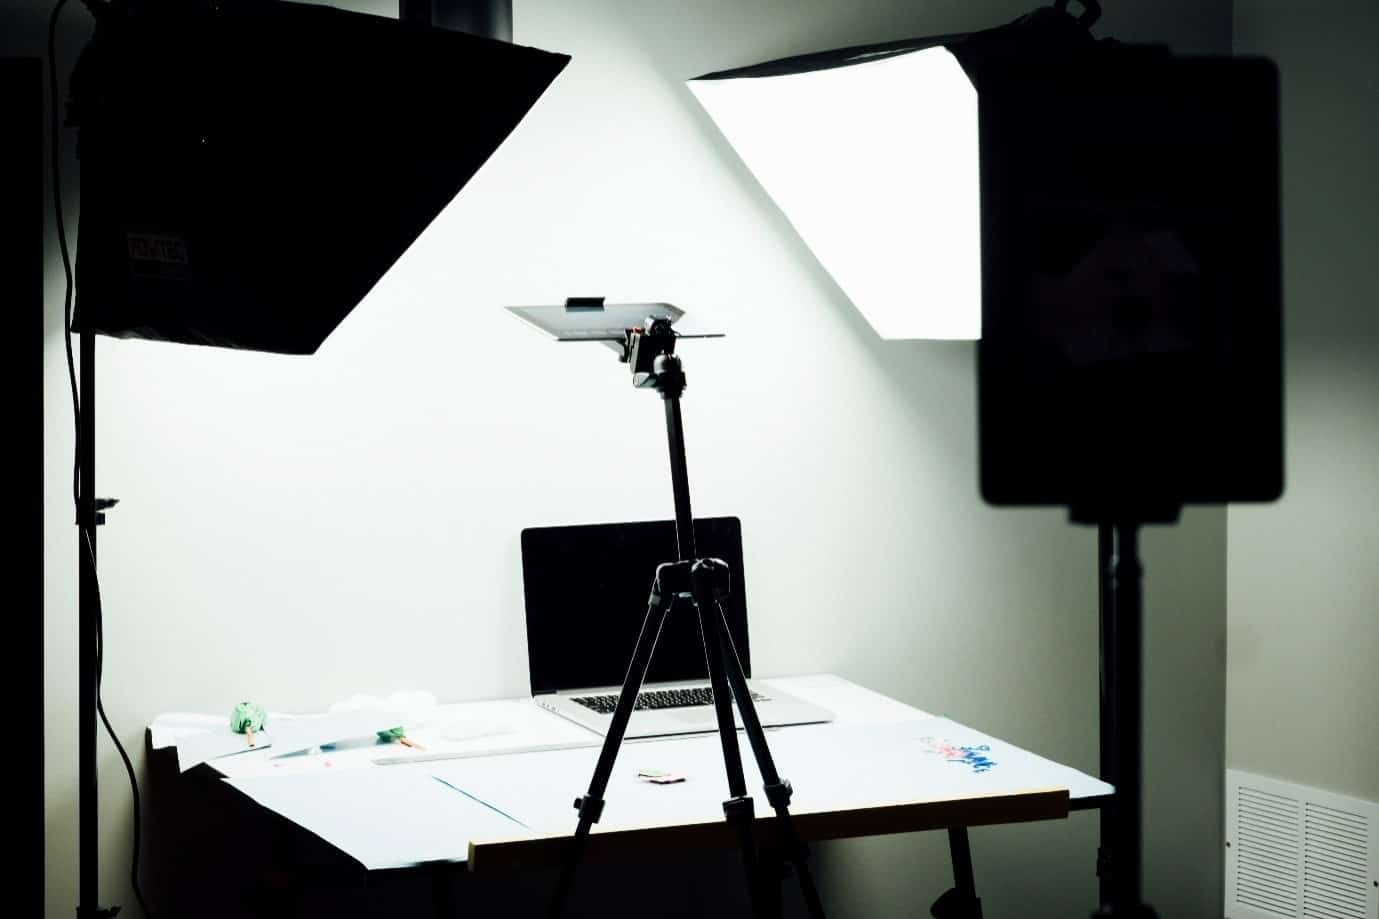
A softbox is a box built around a light source (like a bulb). This type of lighting has an external panel and a reflective internal material that plays a crucial role in diffusing the light and makes it a bit softer. The vital aspect of the soft light is that it emulates natural light pretty well. Moreover, it also results in a good option if you want a natural look in your video. Talking budget into consideration, you can add one as a front light and the other two on either side to add a professional look to your video.
Umbrella Lighting
Who said umbrellas were just for rains? Umbrella lighting is an affordable and portable light source that produces soft lighting for your video subject. Umbrella lighting pairs light with an umbrella, and this reflects and refracts light. Umbrella creates more controlled and directional lighting for the subject as compared to a softbox.
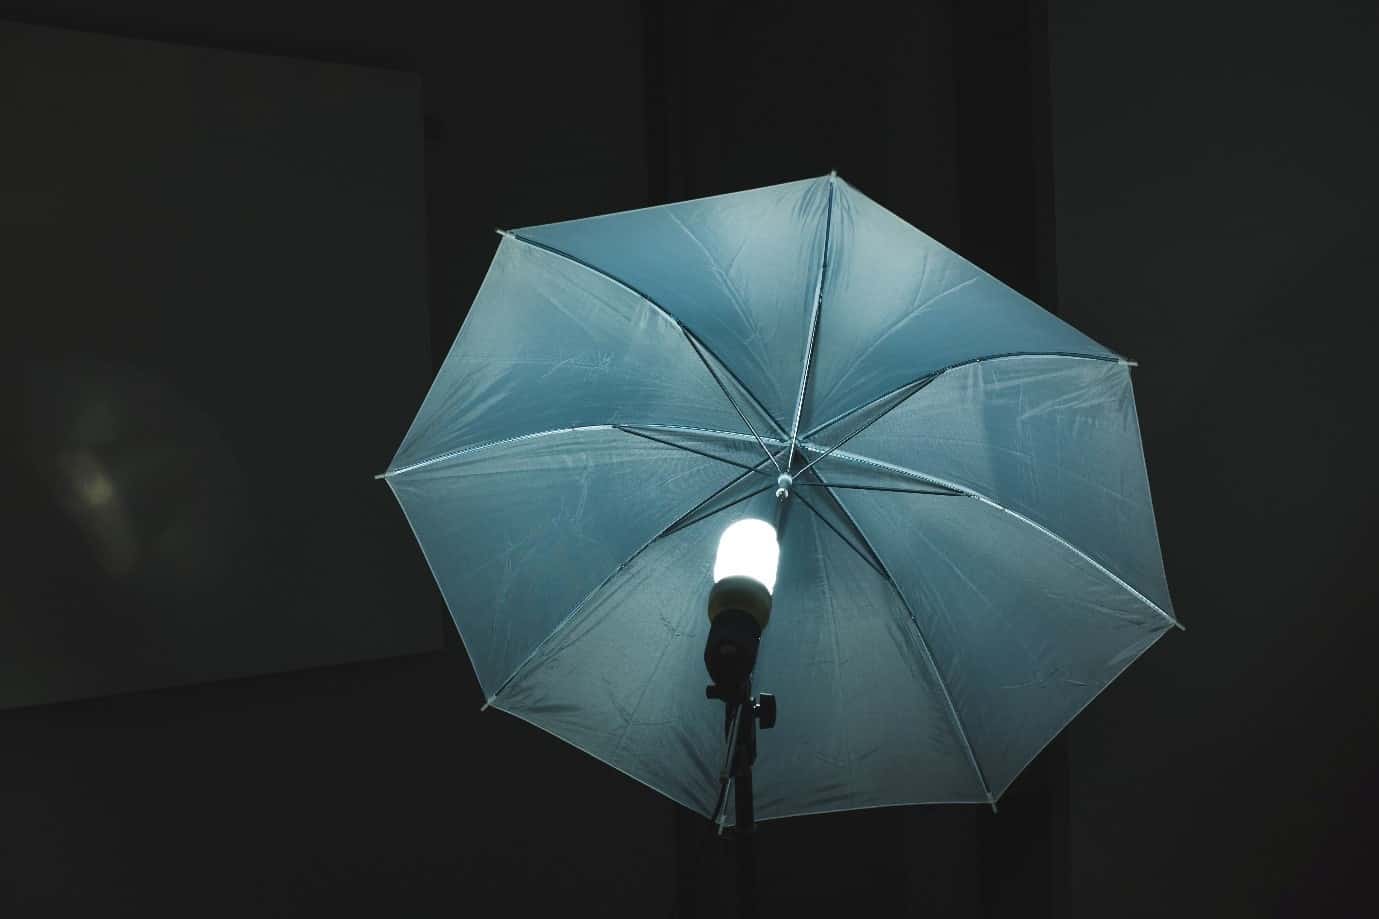
The curved shape of the umbrella plays a good role in facilitating the right and effective direction to the light and makes the edges of the shadow ‘pop.’ It also offers a broader coverage as the light is not boxed in as if it is in a softbox. Umbrella lighting provides dramatic lighting to the video. Hence, it can be used where you want a more polished look.
Ring Lights
Ring lighting is a light source in a ring shape and one of the most popular budget lighting option for YouTubers. Initially used for medical purposes, the ring light is now used in many creative endeavors. This is also the most comfortable option to set up as you need to plugin and point it towards your subject. The ring light provides illumination with little shadow because the light’s origin is very close to the optical axis of the lens.The ring shape of the light provides even and straight lighting, which helps in avoiding shadows altogether.
On Camera Lights
These are generally LED lights placed on the top of the camera as a fill light. These on-camera lights are lightweight, very intense, and sturdy. Thus it makes them ideal for various applications;significant amongst these is the ability to shoot anywhere. On-camera lights are usually square or rectangular and are more affordable than any other option.
What type of YouTube Lighting should you use for your Videos?
Keeping all the above information in mind, here is a summary of what lighting you should use in your videos, based on the type of video you are making:
- Cinematic or Dramatic indoor Videos – Umbrella lighting
- Natural look indoor videos – Softboxlighting
- Beauty vlogs or makeup tutorials – Ring lighting
- While for on the go YouTube videos –On-camera lighting
If you are a limited budget and don’t wish to add more expenses, then you can choose to use natural lighting and use a light reflector to enhance the aesthetics of your video and make them look more professional.


